

App, photo, and operating system sizes are always getting larger. If you use an older Android device—or even the entry-level model of a newer device—you’ll quickly find yourself hitting the storage limit.
There’s nothing worse than whipping out your phone for a once-in-a-lifetime photo, only to be met with the dreaded Storage Full message. So how do you free up storage on Android? Keep reading for a list of tips and ideas.
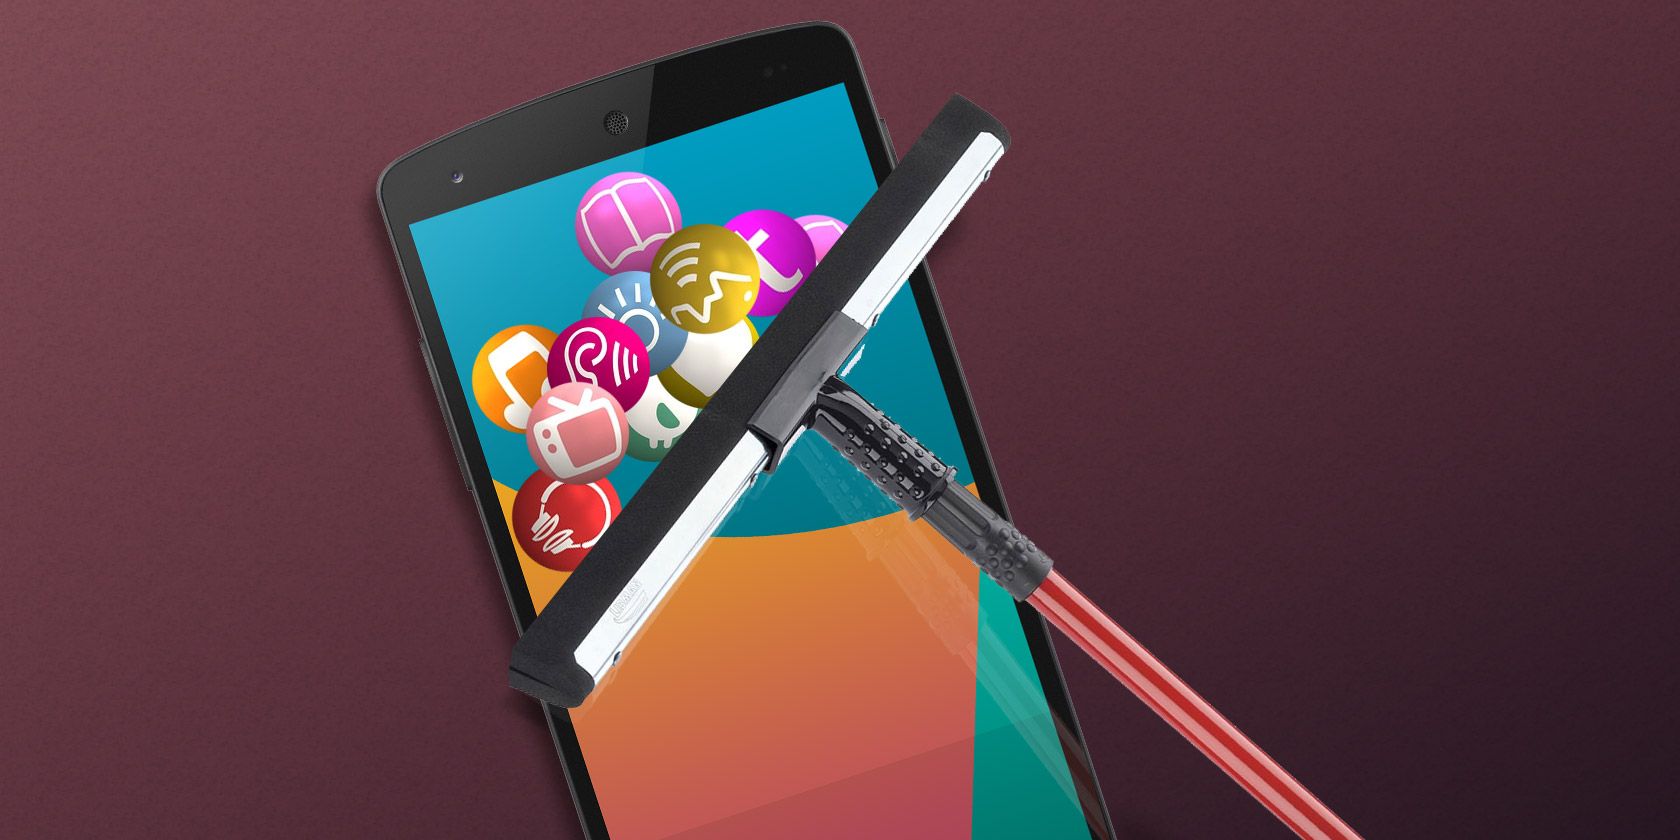
1. Identify Storage-Hogging Apps
How many of the apps currently installed on your phone do you frequently use?
Sure, we all need an email client, some social media apps, a news app, and perhaps a game or two. But do you really need that random weather widget you downloaded or the app that distorts your face to make you look like your dog? Probably not.
Recent versions of Android make it easy to see which apps are the worst offenders. Navigate to Settings > Storage > Other apps. Wait for the list to populate, then tap the menu button in the top-right corner and choose Sort by Size.
Once you know what’s taking up the most space, uninstall anything you don’t need by heading to Settings > Apps & notifications > See all X apps.
2. Delete Offline Content
Lots of apps let you save content on your device so you can access it when you’re offline.
For example, Spotify lets you save music directly to your phone. Some RSS readers let you save articles to read later, as do bookmarking services like Pocket. Podcast apps save audio files for offline playback, Chrome can even save webpages for offline access.
Saving content for offline use is great—if you have enough space. If you don’t, you’ll quickly start wondering where all your free space went.
A few prudent steps will fix this problem. Instead of downloading dozens of albums, try making a playlist on Spotify with just enough songs to cover your gym session or commute. Only open the notebooks you use most frequently on OneNote, and avoid downloading any huge files from cloud storage services.
To clear the offline content that you already have saved on your device, you have two options. You can clear app caches on a case-by-case basis by going to Settings > Apps and notifications > See all X apps > [App Name] > Storage and cache > Clear Cache.
Alternatively, you can use a reputable third-party tool that will clear app caches in bulk. SD Maid is one such tool.
Download: SD Maid (Free, in-app purchases available)
3. Move Photos to the Cloud
Google Photos will automatically back up all your photos to the cloud. As long as you’re happy with a slightly lower resolution, they won’t count against your Google Drive storage limits.
When looking at the photos on your device using Google Photos, it’s easy to miss the fact that they’re not saved locally. They’re still accessible and viewable through the Photos app as long as you have an internet connection.
The app will even alert you when it can help save some space, with an on-screen notification making you aware that you’re closing in on your storage limits.
If you think you’re close to capacity, you can get the app to check on your behalf. Navigate to Google Photos > Menu > Free up space. The app will scan your phone, let you know how many photos have already been backed up, and advise you on which ones you can safely delete.
4. Move Content to an SD Card
Sadly, fewer and fewer devices now ship with an SD card slot. They’re especially rare on premium phones.
There’s a good reason for lack of SD support on modern phones: cheaper SD cards will not perform as well as more expensive ones because they have slower read/write times. But many users won’t realize that their SD Card is at fault—they’ll just think the phone is sluggish. That’s bad publicity for manufacturers; they’d rather you just bought a more expensive model with more storage.
If you have a mid-range or budget device, it’s more likely to have a slot for SD cards. This is fortunate, given that such devices typically offer less built-in storage than their more expensive counterparts.
Android is capable of formatting an SD card so it appears as internal storage on your device. Go Settings > Storage > [SD card name], then tap on the three vertical dots in the top-right corner and choose Storage settings. Select Format as internal to begin the process.
5. Take Advantage of the Google Files App
The Android storage manager app Files comes pre-installed on all stock Android devices. It’s not as powerful as some of the best Android file explorer apps, but it does a decent job of letting you organize the downloads, shared files, and other documents on your phone.
One of the app’s most overlooked features, however, is the Free up space tool. It’s directly integrated into the Android Settings app. To use it, go to Settings > Storage and tap on Free up space.
The Files app will automatically open and start analyzing your storage. It will identify junk files, large files, old files, and anything else it thinks you can safely delete. You make the final decision of whether to complete the removal.
Download: Files (Free)
6. Android’s Storage Manager Tool
If you don’t trust yourself to keep up with these storage maintenance tasks, you can let Android do some of the work for you.
The native Storage Manager tool has been available since Android Oreo. Head to Settings > Storage and slide the toggle next to Storage manager into the On position. If you tap on Storage manager, you can customize the feature, including how long to keep backed up photos and videos on your delete before the local copy is automatically deleted.
Learn More About Android Storage
Keeping your device free of clutter is just one small part of knowing how to manage the storage on your Android device.
For example, did you know that it’s possible to move entire apps to your SD card and away from your internal memory? If this isn’t an option, check out more tips on using an old Android phone with little storage space.
Read the full article: How to Free Up Storage Space on Your Android Device